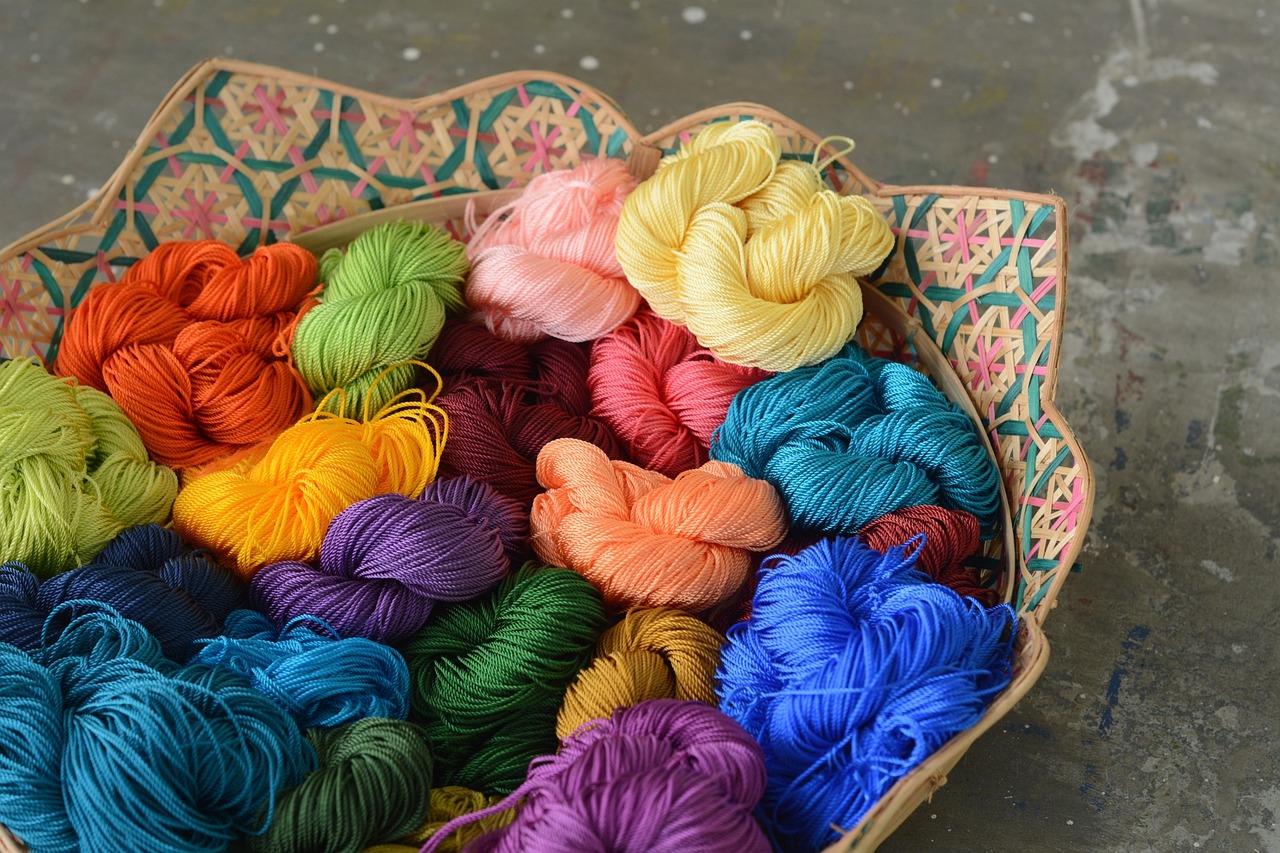
Chapter 1: Beginner Crochet Projects
In this chapter, you’ll find some crochet projects that are perfect for those that are new to the craft of crocheting. These projects don’t require a ton of materials and can be done in a short amount of time, making for great practice. You may even have something beautiful to show for it once you’re finished!
Simple Crochet Projects
There are many simple crochet projects out there that are perfect for beginner crocheters. Typically only using two or three different stitches, they have simple instructions and are a great way to practice your crocheting skills.
Beginner Scarf
This scarf is super beginner-friendly; it uses only one stitch, has simple instructions that are easy to follow, and works up fast.
Size: Approx. 6.5” width x 65” length
Materials:
● Any super bulky 6 yarn (less than two skeins will be used)
● 9 mm crochet hook
● Scissors
● Yarn/tapestry needle
● Measuring tape
Step 1: With your bulky yarn, CH 11.
Step 2: CH 1, in the second CH from the hook, SC, SC once in every CH across (10 total).
Step 3: CH 1, turn your work over, SC in the first stitch (not the CH 1), SC once in every stitch across (10 total).
Step 4: Repeat step 2 until you have 101 rows (1o times).
Step 5: Fasten yarn off with scissors, weaving in any loose ends in the scarf with a yarn needle.
One Skein Crochet Projects
If you’re in the mood to crochet something but only have one skein of yarn, don’t worry! One skein can go a long way. There are countless projects you can do even if your inventory is running a little low, and can be the perfect way to get rid of that one random skein you have lying around.
One Skein Soap Holder
These elegant looking soap bags can fit a full bar of soap and help prevent soap from staying wet and soggy. You can use any color you’d like!
Size: Approximately 7” x 6 ½” long
Materials:
● One skein of any 100% cotton yarn (this type is best to use if the item will be getting wet!)
● H 5.0 mm crochet hook
● Tapestry needle
● Scissors
Row 1: SC in the second chain from the hook, [chain 1, skip next stitch, SC in next space] continue between [] and end with a SC in the last stitch.
Row 2: Chain 2, HDC in the first SK ST from the first row [chain 1, skip next stitch, HDC in next space] ending with a HDC in the last stitch.
Row 3: Chain 2, in the first SK ST from the last row [chain 1, skip next stitch, SC in next space] continue between [] and end with a SC in the last stitch.
Rows 4-17: Repeat rows 2 and 3.
Row 18: SC, then in the first chain space, SC, chain 2, TR, DC. [In the next chain 1 space, SC, chain 2, TR, DC] Repeat between the [] until the end.
Be sure that there is still enough yarn so that it can go around the side and bottom of the soap holder, leaving about 1o inches at the end to be weaved. Once you’re sure that much length is left, cut the yarn.
To join the edges of the soap holder, fold it lengthwise with the right sides together. By weaving the yarn through the loops on the end of your stitches, sew up the side and bottom. Weave in the yarn tale with the yarn needle and cut off any extra. Then turn the holder inside out.
To crochet the tie closure: Chain 60 and SL ST into each chain. Use the yarn ends to help you pull the tie through the holes that were made by the HDC and the SC. Then weave them in and cut off the excess. Weave the tie through the top holes made by the HDC and SC.
Scrap Yarn Crochet Projects
Most projects lead to leftover yarn, which can build up quickly. Luckily, there are lots of projects that are perfect for using up all those scraps and still result in a beautiful creation!
Scrap Yarn Rug
This easy crocheted rug is the perfect way to use up all the yarn scraps you have lying around. Using various colors make this rug vibrant and eye-catching, and it follows simple steps that make it a great beginner project.
Size: 22 x 32 inches
This size is perfect for a doorway rug. If you want it longer or shorter, simply alter the number of chains made at the beginning.
Materials:
● Leftover yarn scraps (about 40 oz. worth, give or take)
● 7 mm crochet hook (any larger hook will work)
Step 1: Holding two strands of yarn together, CH 54.
Step 2: SC in second CH from the hook each stitch to end and turn (53).
Step 3: CH 1, SC in each stitch across (53).
Step 4: Repeat step 3 until the rug measures 32” long. Fasten the yarn off and weave in the end.
And you’re done! This rug makes a great welcome mat or bath mat, and the color combinations can be endless!
Finger Crochet Projects
Finger crocheting is exactly what it sounds like—it’s just like normal crocheting, but you use your finger instead of a crochet hook. It’s a great way to practice the mechanics of each stitch and is for pros and newbies alike!
Cozy Blanket
This big, chunky blanket is super cozy and super easy to make.
Materials:
● Chunky wool yarn (about 10 skeins)
Chunky wool yarn tends to be a bit expensive. For this project, regular yarn will still do the trick, though you’ll need to use four or five strands at once.
Step 1: Create a slip knot by crossing the tail of the yarn over the yarn you’re working with, insert your fingers into the loop, and pull the working yarn through.
Step 2: Pull the working yarn through the loop to begin chaining. Make 26 chains.
Step 3: Turn the work and insert a finger into the second chain to pull up the working yarn. Place each loop on the thumb and pointer finger and pull the working yarn through, making the first SC. Continue to SC each chain. At the end of the row, CH 1, and turn the work.
Step 4: Place your finger under the first ‘V’ stitch to pull through the working yarn. Pull it through by inserting a finger and thumb into each loop. Continue with SC for the rest of the row.
Step 5: CH 1 at end of the row, turn, and SC the row. Repeat SC until your blanket reaches the desired length.